Physical Address
304 North Cardinal St.
Dorchester Center, MA 02124
Physical Address
304 North Cardinal St.
Dorchester Center, MA 02124
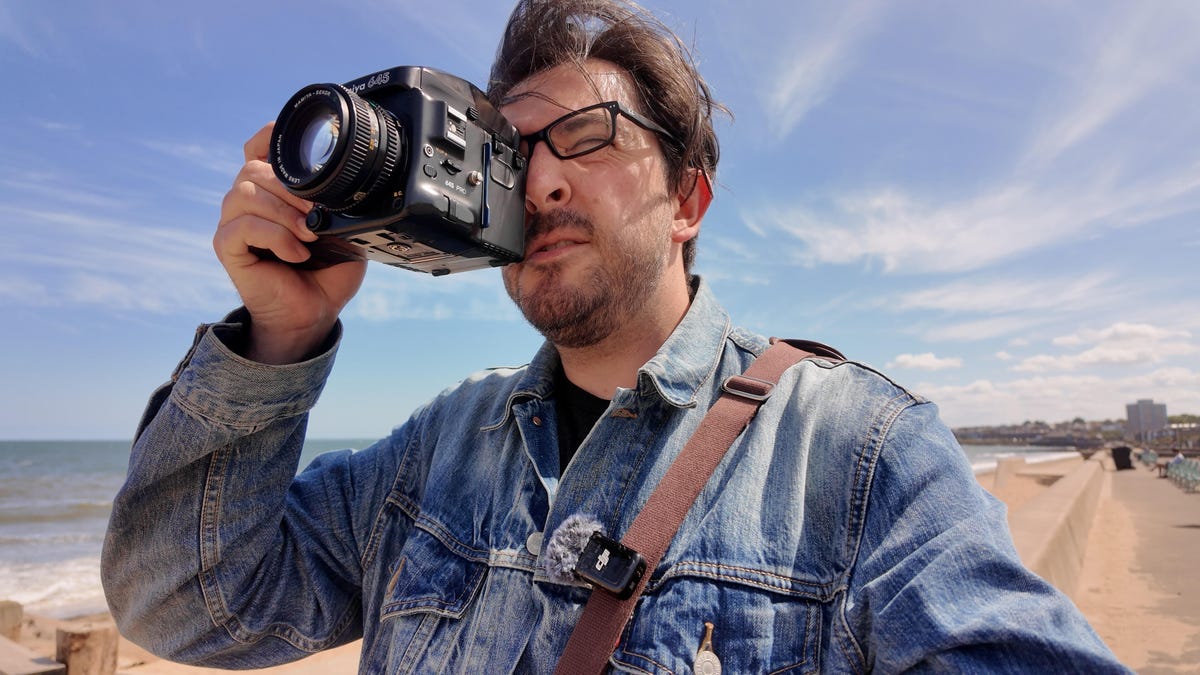
The “film look” trend has been on the rise on Instagram, YouTube, and TikTok, and there’s no better way to get that authentic analogue photographic style in your photos than to actually shoot your photos on real analogue film. Sure, going up Compact digital cameras And high quality cameras Built into your phone It made photography much easier – and cheaper – but there is something beautiful and nostalgic about film photography.
I’ve already written about The best types of cinema cameras You get to choose where to buy them and what film to use inside them, so here I’ll walk you through the basic things you need to know to take your first photos on film. I’ll also walk you through the process of developing your own film catalog and how to save a significant amount of money by scanning negatives at home with your digital camera.
Keep in mind that the topic of “how to take a photo” is basically endless—not to mention very subjective. So rather than trying to produce a comprehensive guide to every element of photography, I’ve instead tried to keep this focused on the essential parts you need to know: from how to analyze the light of a scene to which aperture to use. From there, it’s up to you to delve deeper into the world of photography and become the next Ansel Adams. Or, I think, Brooklyn Beckham.
The first thing you need to do is load the film into your camera, which isn’t always easy and varies a lot depending on the type of camera you’re using. But the Internet is a wonderful resource, and there is a lot of it How to download the movie Guides or YouTube videos for almost every film camera ever made.
After loading the film onto your camera, the first thing you need to learn is how to set the exposure. If you have experience with digital photography, much of this will be familiar, but even if you’re new to photography, it’s not difficult to get to grips with.
This scene was very difficult because it had very dark areas inside the tunnel and bright areas outside. However, I knew I wanted to silhouette the runners, so I exposed the bright area, allowing everything else to fall into shadow.
There are three elements that control your exposure: the ISO speed of the film, the aperture (which means how wide it is and therefore how much light it can let in) and the shutter speed (which means how long the shutter stays open, exposing the film to light). The more light that comes in, the brighter your photos will appear and vice versa.
The ISO speed is set depending on your choice of film, whether it’s the relatively low ISO 200 of the Kodak Gold or the more sensitive ISO 3200 of Ilford’s Delta 3200. Some cameras will automatically read this information from the film cans, while others will require you to set the number manually on camera. This just leaves you to think about aperture and shutter speed, both of which will be determined simply by the type of photo you want to take and the conditions you are in.
If you want a dreamy, shallow depth of field where the background is blurred around your subject, you’ll need a wide aperture of f/1.8 or faster if your lens allows it. This lets in more light, so you’ll need a faster shutter speed to compensate. to remember, smaller f-stop number, f Wider The focus will be on the lower aperture and depth of image.
Want more focus to your landscaping? Great, you’ll need a narrow aperture of f/8 or f/11. This smaller hole means less light coming in, so you’ll also need a longer shutter speed to give the film time to expose properly. But a longer shutter speed means you may get a blurry shot, especially if you’re shooting handheld.
I was able to maintain focus on a larger portion of the scene using a narrow aperture. Since it was a bright day, I could still use a fast enough shutter speed to get a sharp handheld image.
Exposures of 1/15 of a second or longer are best achieved on A Tripod To ensure the camera stays steady and captures a clear photo. If you’re out and about shooting handheld in daylight, think about your shutter speed first – maybe keep it at least 1/150th of a second and set your aperture accordingly. If you know you will be shooting handheld in dark conditions, choose more sensitive film stocks such as Kodak Portra 800 For color images or Ilford Delta 3200 for black and white.
However, determining the settings you need to get a correct exposure is not always easy, and requires you or your camera to primarily analyze the ambient light in your scene to determine the settings. This is called ‘metering’, and some cameras, like the Mamiya 6 or Canon 1000F, have built-in light meters – when you point them at the scene, a meter in the viewfinder will indicate whether you’re overexposing the scene or not. If you are overexposing, close your aperture by one or two stops or use a faster shutter speed. If you are underexposing a scene and need to brighten things, open the aperture or reduce the shutter speed.
Some cameras – especially older models like these are fine Yashica TLR From 1959–we don’t have light meters, so you have to solve it some other way. Historically, photographers used specialized tools Physical light meter. But now many photographers, including myself, find that using a phone is enough. There are many light measuring apps out there, like the one I use, called Light meterwhich allows you to access the camera settings and use your phone’s camera as a light meter to determine exposure. I’ve used this for images on 35mm and 120 film, and it has never steered me wrong.
Using the Light Meter app (left) to analyze the scene in front of me, I was able to choose the best settings to achieve the final shot (right).
However, getting the perfect exposure isn’t always easy, and part of the fun of film photography is that sometimes you don’t always get a perfect photo. It’s about trial and error and learning as you go. Exposing a bright sky and a dark, shadowy foreground is a nightmare for even the best digital cameras today, as you’ll need completely different camera settings depending on whether you want to properly expose the bright or dark parts.
For film, it’s up to you, the photographer, to decide what you want to expose for. If you measure your scene correctly, you won’t be able to make a big mistake. Many film stocks, including Kodak Gold, benefit from its presence slight Overexposure. So, if you’re getting different readings for different parts of a scene, it’s often better to choose the reading that will result in a brighter exposure.
If you’re not sure, shoot two frames: one slightly overexposed and one slightly underexposed, and then you can decide later which is better.
Using the Hasselblad 500C means manually measuring the light. It’s not always easy, especially in dark sunset conditions like these.
Having a point-and-shoot camera or a more modern SLR camera with automatic settings removes some of the guesswork, as the camera will decide the settings itself. But it’s not always perfect, and some scenes can fool the light meters of even the best cameras.
Now that you’ve taken your photos, it’s time to develop them
Taking your film to a local camera store is the easiest way to have it developed. You can also send it to a lab and have them develop the negatives and scan them with a film scanner. You can then recover analog photos and digital files. easy.
While this eliminates the hassle of development and scanning, the downside is that it becomes expensive. For example, my local lab will develop a roll of 35mm film for £6 ($8), but then it will cost me another £10 ($13) on top of that For movies For high-resolution scans. Sure, $20 may not seem like a lot to process one roll of film, but when you start making multiple rolls of film per week, that cost starts to add up. You can do more of the work yourself to reduce this cost.
I don’t want to develop the film myself, so I use a lab for that and then scan the negatives myself.
I am not interested in home improvement. While there Different groups Which makes home development easier than setting up an entire darkroom, it takes a lot of precision to do it right. And I don’t want a lot of extra gear in my house, so I’m happy to pay a local lab to do the development. However, what I will do at home is scan the negatives to get the digital files.
Although good labs use dedicated film scanners, if you already have a digital camera and a macro lens, it’s not difficult to do it yourself. I use a Set from Value Which attaches to my camera lens. It has a built-in backlight that shines through the negatives, allowing me to take your photo for each frame and simply drag the tape to the next frame. It’s simple, yet Easy 35mm and Easy 120 combination It’s not particularly cheap, if you watch a large number of movies, it won’t take long for you to recoup the cost.
On the left is the negative as photographed with the digital camera and Valoi kit. On the right is the final image after conversion using Negative Lab Pro within Adobe Lightroom Classic.
What you’re then left with is a set of raw images of your negatives. Import them into Adobe Lightroom Classic and use a plugin called Negative Lab Pro To transform and modify it to achieve the desired shape. It’s up to you how far you want to take this, as some of you may want to get as close to a natural film stock look as possible, while others will want to achieve a more unique look from their footage. As with any art, there is no right or wrong way to do anything, it just comes down to your personal preference.
Valoi scanning kits make it easy to scan negatives at home.
In the end, you will be left with film images taken with your film camera using your favorite film stock. hooray! You’ve succeeded. Now rinse and repeat until your house is filled with photos and your bank account is frustratingly empty.
I dropped the camera and the back opened, exposing the roll of film. Many of the photos were destroyed, but I love the happy accident of this frame being burned at the edges, creating a natural frame for this couple as a result.
Start cheap. The film can be an itch that just needs to be scratched, or you may not deal with it at all. It helps to find an affordable film camera – such as a camcorder Canon EOS 1000F -And try it before splashing out thousands on a luxury set.
Don’t exaggerate. It’s not like digital, where you can take hundreds of photos in an afternoon and then decide to keep one or two of your favorites. Well, you can, but it will cost a fortune. I like to limit myself to one film per event. Part of the magic for me is being more selective about the shots I want to take, which results in fewer and more Meaningful photo.
Don’t be afraid to mess up. It’s part of the process, even if you’re an experienced photographer. Mistakes will happen, whether it’s accidentally opening your camera’s film door halfway through the roll or simply getting an exposure completely wrong. Yes, getting a wrong shot or messing up an entire lap costs money, but you’ll also learn from those mistakes.
A picture isn’t good just because it’s in the movie. It still needs good composition, lighting, exposure, focus and a good subject. In short, a photo should be good regardless of the material it was taken with – film or digital. So keep working on your skills as a photographer as you practice film.
