Physical Address
304 North Cardinal St.
Dorchester Center, MA 02124
Physical Address
304 North Cardinal St.
Dorchester Center, MA 02124
Editor’s note: The Snapmaker U1 is the latest 3D printer to win a CNET award Editors’ Choice Award. I really enjoyed the 4 tool changer and how well it prints. The added benefit of reducing waste to almost zero makes it an excellent choice for almost anyone. Original article below.
Snapmaker has a history of making 3D printers that don’t always follow standard trends. The original Snapmaker was a small three-in-one machine that could be a 3D printer, laser cutter, or CNC, depending on what type of tool head you used, and for years, the company iterated on this idea, culminating in the much larger Craftsman model. Next, Snapmaker experimented with a dual-nozzle 3D printer called the J1. In my review of the J1I liked that the nozzles could print two models at the same time, reducing the time it takes to print batches, but I felt the cost was prohibitive.

8.5
The complete lack of waste is wonderful
Each model creates two or three small strands, and that’s it
The four print heads work seamlessly to deliver multiple, multi-color materials
Setup was very easy, even with the four tool heads.
I wish it came with the cover instead of being an optional extra
With the advent of multi-color systems, Snapmaker could have gone the way of Bambu Lab, Anycubic and other companies and made an AMS system for filtering four colors in a single nozzle but it is true that it went in another direction. The U1 is a four-tool 3D printer that uses independent tool heads to print four different colors or even four different materials. It is a system that can work very well or fail completely.
Fortunately, Snapmaker has created a tool changer that not only works well, but also acts as a turnkey solution with little to no setup time. I’ve been using and enjoying it for a few weeks now, and the U1 is a smart way to do multi-material printing that cuts out almost all of the waste that most color systems produce. It is a machine that is a pleasure to use and one that I can see being a staple in many workshops this year.
Both tool changers and AMS are mechanisms that allow a 3D printer to use different materials – often different colors of the same material, or a material used to support a different material – without having to manually switch filament.
AMS does this by automatically loading and unloading filament from the hot end each time a color change is required. The advantage of AMS is that it only requires a fairly standard hot end with a splitter on the 3D printer itself. The AMS module, which can be purchased separately, does most of the heavy lifting in this case rather than the printer itself. The disadvantage is the large amount of waste produced by AMS. It has to remove a lot of filament from the nozzle every time you change colors/materials to make sure it doesn’t mix with the print itself.
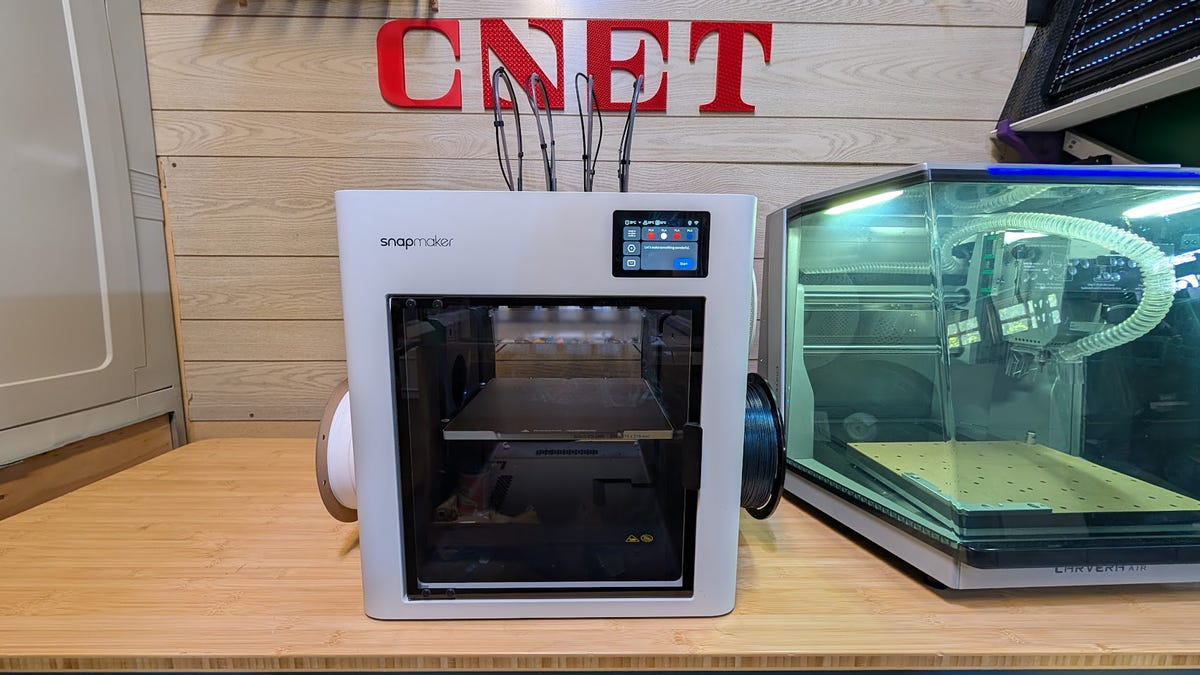
The Snapmaker U1, shown on the right, has much less waste than a regular AMS color 3D printer
Tool changers like the Snapmaker U1 overcome the waste problem by having four separate hot tips, and thus four separate nozzles. This allows each nozzle to remain uncontaminated with any other material, thus reducing the waste generated to the purge tower only. This also speeds up the entire process, as the mechanical switching of tool heads is much faster than the purging process required by AMS. I have printed the same form on Anicubic S1 And the Snapmaker U1, and although the colors are a little different, you can see that the S1 waste (pictured left) is much larger than the U1 waste.
The big disadvantages of a tool changer are the additional mechanisms that can break down and the price. Four tool heads means four more areas where things can go wrong, like clogs and worn nozzles, and because the tool heads need to be replaced, there’s a chance they’ll fall out during loading and unloading. Price is also a limiting factor since tool changers tend to be more expensive than their AMS cousins.
It is also worth noting that having four tool heads also does not change the natural properties of the materials you are using. PLA still won’t stick to PETG, and TPU won’t magically start sticking either. But what it allows is to use these products together without the risk of mixing them in the nozzle.
While some of these printouts are not perfect, this appears to be a problem with the software and not the hardware
The Snapmaker U1 I built prints high-quality prints; Some of them were even great, but there was still some work to be done. However, I don’t think the problem is mechanical. The Snapmaker uses a forked version of the OrcaSlicer, and although I love the Orca as a slicer, this version is far from over. I’m using a beta version, and hope to see more updates to the software before the end of the Kickstarter. Currently, it lacks good profiles for the most common threads, and this causes a lot of jitter if you don’t adjust the settings yourself.
Tool changers work very well in delivering material without interruption to the printing process. The entire 3D printer is fast and accurate, and with some fine-tuning, it will be able to produce truly excellent prints in no time. I used it to make my kids’ floppy dragons with a touch of color — just white eyes, teeth, and claws — and printed them just as quickly as if they were just one color. That kind of speed will be what sets the U1 apart from the competition, especially at such a competitive price. While almost all of the prints had filaments, there were very few blemishes. The single-color prints were as flawless as you would expect from a modern 3D printer and easily sold in my Etsy shop — While you still canthat is – without the need for real post-processing
| Build volume | 270mm x 270mm x 270mm |
|---|---|
| Hot end | 4 x stainless steel nozzles |
| Nozzle diameter | 0.4 mm |
| Maximum nozzle temperature | 300C |
| Maximum bed temperature | 100C |
| top gear | 500 mm/s |
| Live view camera | Yes |
| Supported materials | PLA, PETG, ABS, TPU (more to come) |
| storage | USB port, 8 GB internal space |
The initial setup was also very quick and simple compared to other tool changers I’ve used. The 3D printer was already fully assembled, and the configuration took about 15 minutes to make sure the tool changers were aligned and ready to go. This type of out-of-the-box printing has become a requirement for consumers, so it’s good to see that Snapmaker is trying to simplify the startup procedure. Simplification is a big part of U1. Each thread roll has an auto loader that makes loading thread easy, and the unloading process allows you to unload all the material at the same time if you want. Fast and simple.
I would like to see some changes to the onboard OS, but they will likely happen as the platform evolves. Choosing the color for each yarn is a bad thing and needs to be addressed, as it is difficult to find a color that matches your yarn. However, if you use a USB dongle to transfer files, you can map the colors in the file to the colors on the printer, which is useful. I also wish the U1 had a cover as standard. A fully enclosed system is needed if you want to print some of the more structured filaments, and while you can purchase a cover separately, it would be nice to have it come with it from the start.
My time with the Snapmaker U1 gave me a chance to see what this affordable tool changer can do, and I was pleasantly surprised by how good it is. The prints are of good to great quality, and the four tools give you plenty of scope to try new and interesting ways of combining materials. Tool changers are still a niche type of 3D printer, and need a few good products in this area to gain more popularity. The Snapmaker U1 is a great example of what can be done in this space.
