Physical Address
304 North Cardinal St.
Dorchester Center, MA 02124
Physical Address
304 North Cardinal St.
Dorchester Center, MA 02124
It’s a known problem that many users print out what’s appropriately called a “poo chute,” which collects waste and redirects it to the side where it’s easier to empty. I followed the simpler solution of placing an empty filament box behind the printer to pick it up.
Before printing, the Bambu also scans and flattens the bed into a grid, warning you if it hits any obstructions such as remaining supports or a faulty bed scraper. I’ve scanned many auto-level printers before, but they were slower, usually requiring a second manual scan before actually clicking. I haven’t had to adjust anything on the P1S in the month or so I’ve been using it, as the printer handles the initial setup, regular resetting and nozzle cleaning.

Photo: Brad Burke
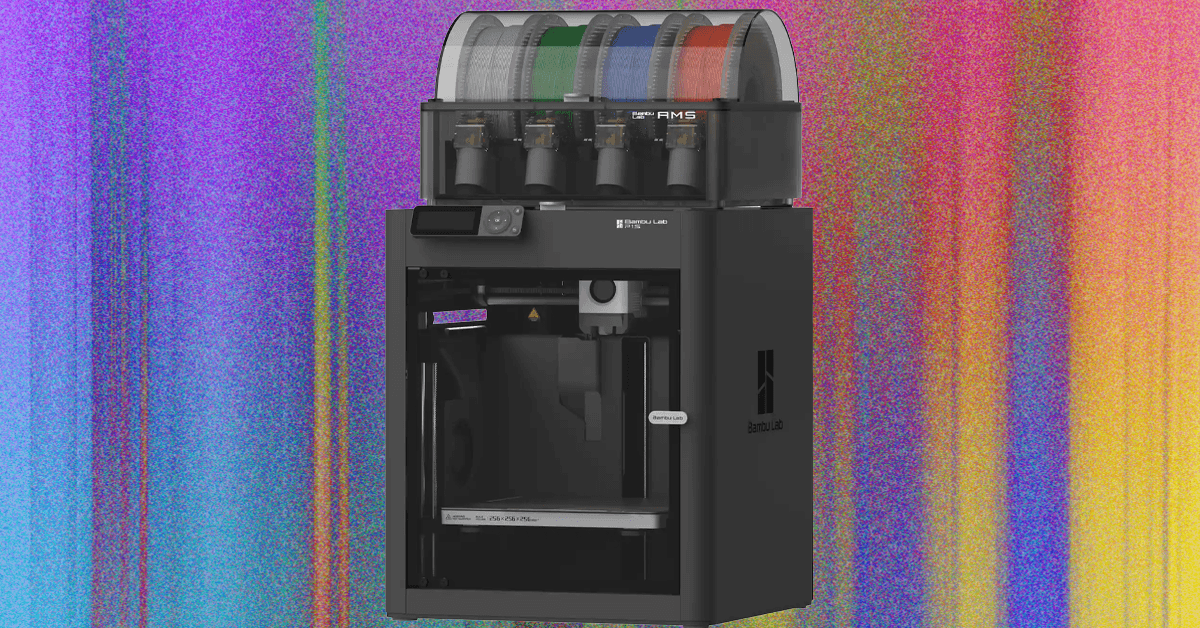
The Bambu P1S is sold on its own, but I think the package that includes AMS for multi-threading processing is worth the extra cost. When I unpacked the AMS, I was dreaming of vibrant, multi-colored prints, and while this is certainly possible, it’s not the best feature of the component. Changing colors or materials mid-print forces the nozzle to discharge a small coil of extra material, and you should print a turret on the side to reduce the Z-axis variation.
The result is a significant amount of wasted plastic, extra time spent printing, and effort refining models, layering, and coloring. I also noticed a lot of extra length in the purge files when switching colors, and I’ve slowly reduced this amount in Bambu Studio, but your mileage may vary. To answer any questions: Yes, it was weird examining the 3D printer’s poop to improve her diet.
Instead of printing complex, multi-colored parts in one shot, I found AMS to be more useful for reducing the amount of time I spend handling the printer to switch filaments. While it walks you through the process, swapping out single threads is a fairly hands-on process. You wait for the nozzle to heat up, then pull the old wick out, push the new wick in until it drips again, then place the roll on the spool holder, making sure to sanitize anything left over. With AMS, I just load the colors I want for a multi-cut project onto the rollers, select them into the slicer, and it handles everything from heating to sanitizing.
